Protect clones from manual and automatic deletion
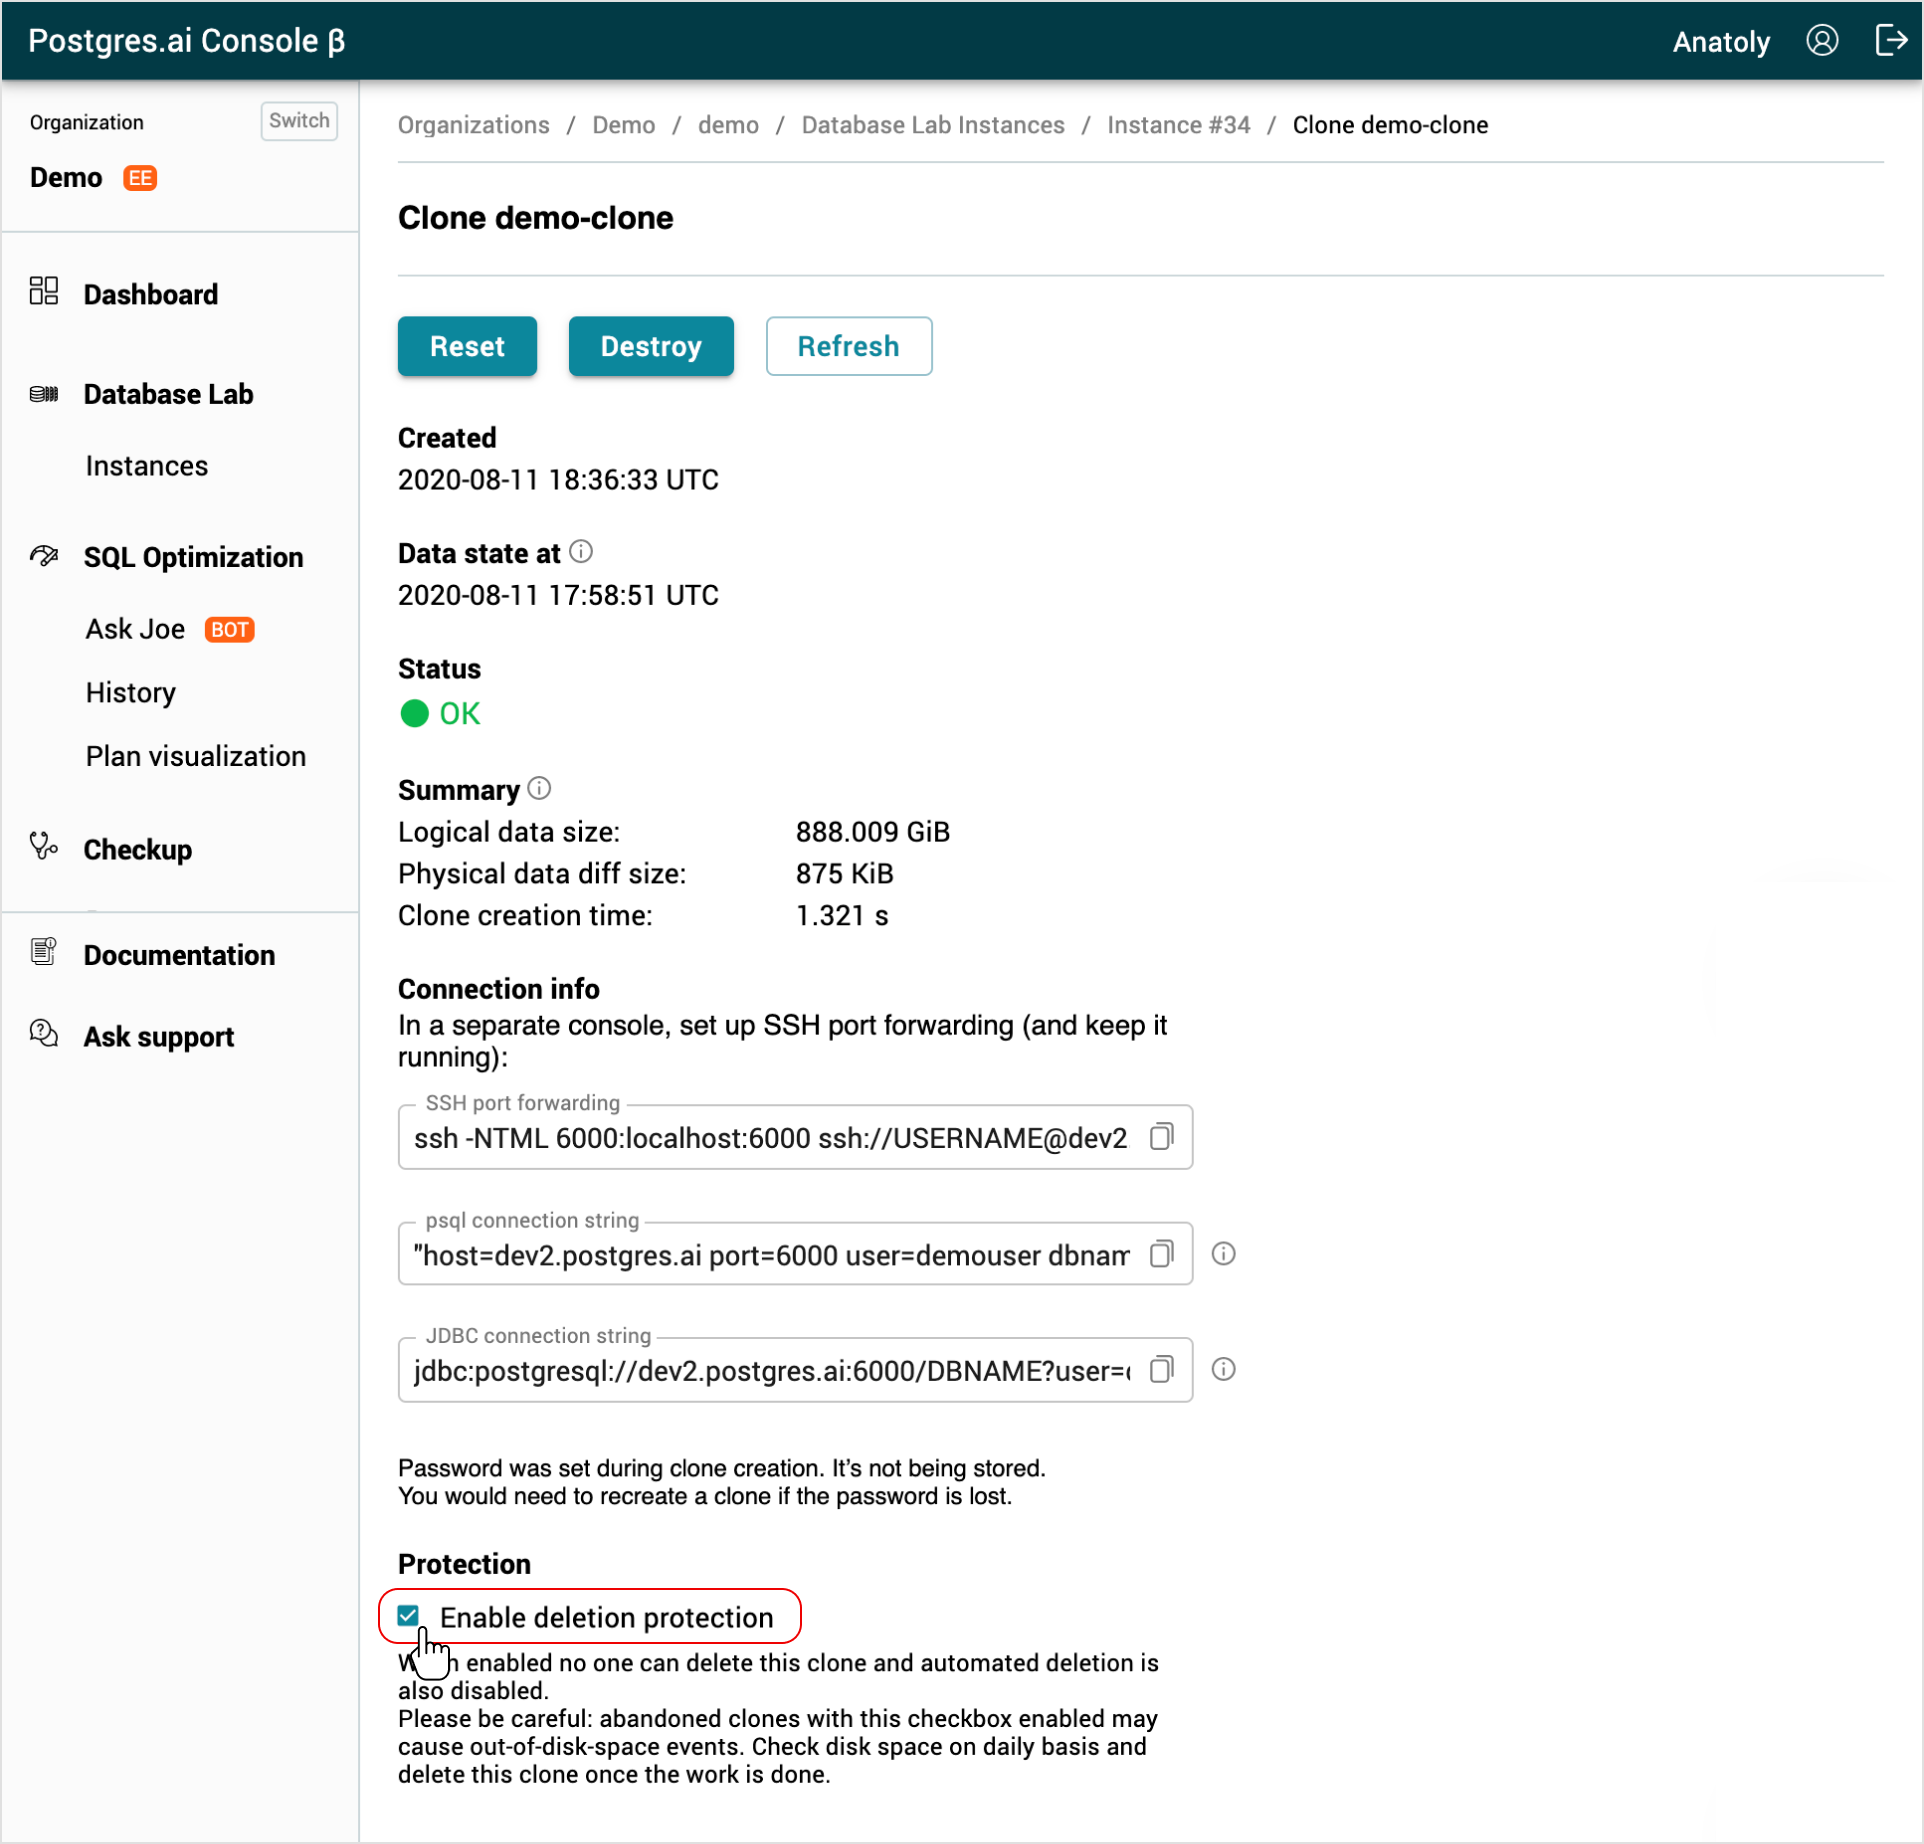
Database Lab clones can be protected from manual and automatic deletion by enabling the protected status of a clone. When enabled no one can delete this clone and automated deletion is also disabled.
DBLab Engine automatically deletes idle unprotected clones after the idle interval which is defined in the configuration.
Please be careful: abandoned protected clones may cause out-of-disk-space events. Check disk space on a daily basis and delete protected clones once the work is done.
Protection leases (DBLab Engine 4.1+)
Starting with DBLab Engine 4.1, clone protection supports time-limited leases. Instead of protecting a clone indefinitely, you can specify a duration after which the protection automatically expires. This prevents abandoned protected clones from consuming disk space indefinitely.
How it works
- When a clone is protected with a lease, the
protectedTillfield indicates when protection expires - After expiration, the clone becomes unprotected and subject to normal idle deletion rules
- The default lease duration and maximum allowed duration are configurable
Configuration
Configure protection lease defaults in the cloning section of server.yml:
cloning:
  accessHost: "localhost"
  maxIdleMinutes: 120
  protectionLeaseDurationMinutes: 1440   # Default: 1 day
  protectionMaxDurationMinutes: 10080    # Maximum: 7 days
  protectionExpiryWarningMinutes: 1440   # Warning webhook 24 hours before expiry
| Parameter | Default | Description |
|---|---|---|
protectionLeaseDurationMinutes | 1440 (1 day) | Default lease duration when --protected true is used. 0 means infinite protection. |
protectionMaxDurationMinutes | 10080 (7 days) | Maximum duration users can request. 0 means no limit. |
protectionExpiryWarningMinutes | 1440 (1 day) | Send webhook warning this many minutes before expiry. |
GUI
From the Database Lab clone page enable or disable the Enable deletion protection checkbox.
CLI
Before you run any commands, install Database Lab CLI and initialize configuration. For more information, see Install and initialize Database Lab CLI.
Reference
- Command
dblab clone create - Command
dblab clone update
Protect a clone with default lease duration
dblab clone update --protected true CLONE_ID
Protect a clone for a specific duration (in minutes)
# Protect for 8 hours (480 minutes)
dblab clone update --protected 480 CLONE_ID
Protect a clone indefinitely (no expiry)
dblab clone update --protected 0 CLONE_ID
Unprotect a clone
dblab clone update --protected false CLONE_ID
Protect at creation time
# With default lease duration
dblab clone create --username user --password pass --protected true --id my-clone

# With custom duration (2 hours)
dblab clone create --username user --password pass --protected 120 --id my-clone
API
Protect with lease duration
curl -X PATCH \
  -H "Verification-Token: YOUR_TOKEN" \
  -H "Content-Type: application/json" \
  -d '{"protected": true, "protectionDurationMinutes": 480}' \
  http://localhost:2345/clone/CLONE_ID
Create a protected clone
curl -X POST \
  -H "Verification-Token: YOUR_TOKEN" \
  -H "Content-Type: application/json" \
  -d '{
    "id": "my-clone",
    "protected": true,
    "protectionDurationMinutes": 1440,
    "db": {"username": "user", "password": "pass"}
  }' \
  http://localhost:2345/clone
The response includes protectedTill showing when protection expires:
{
    "id": "my-clone",
    "protected": true,
    "protectedTill": "2027-01-15T14:00:00Z",
    "metadata": {
        "protectionLeaseDurationMinutes": 1440,
        "protectionMaxDurationMinutes": 10080
    }
}
Related
- Guide: Destroy a clone
- Reference: Cloning configuration