How to reset a DBLab clone's state
With DBLab clones, you can test any change without risk to the source database (such as production).
GUI
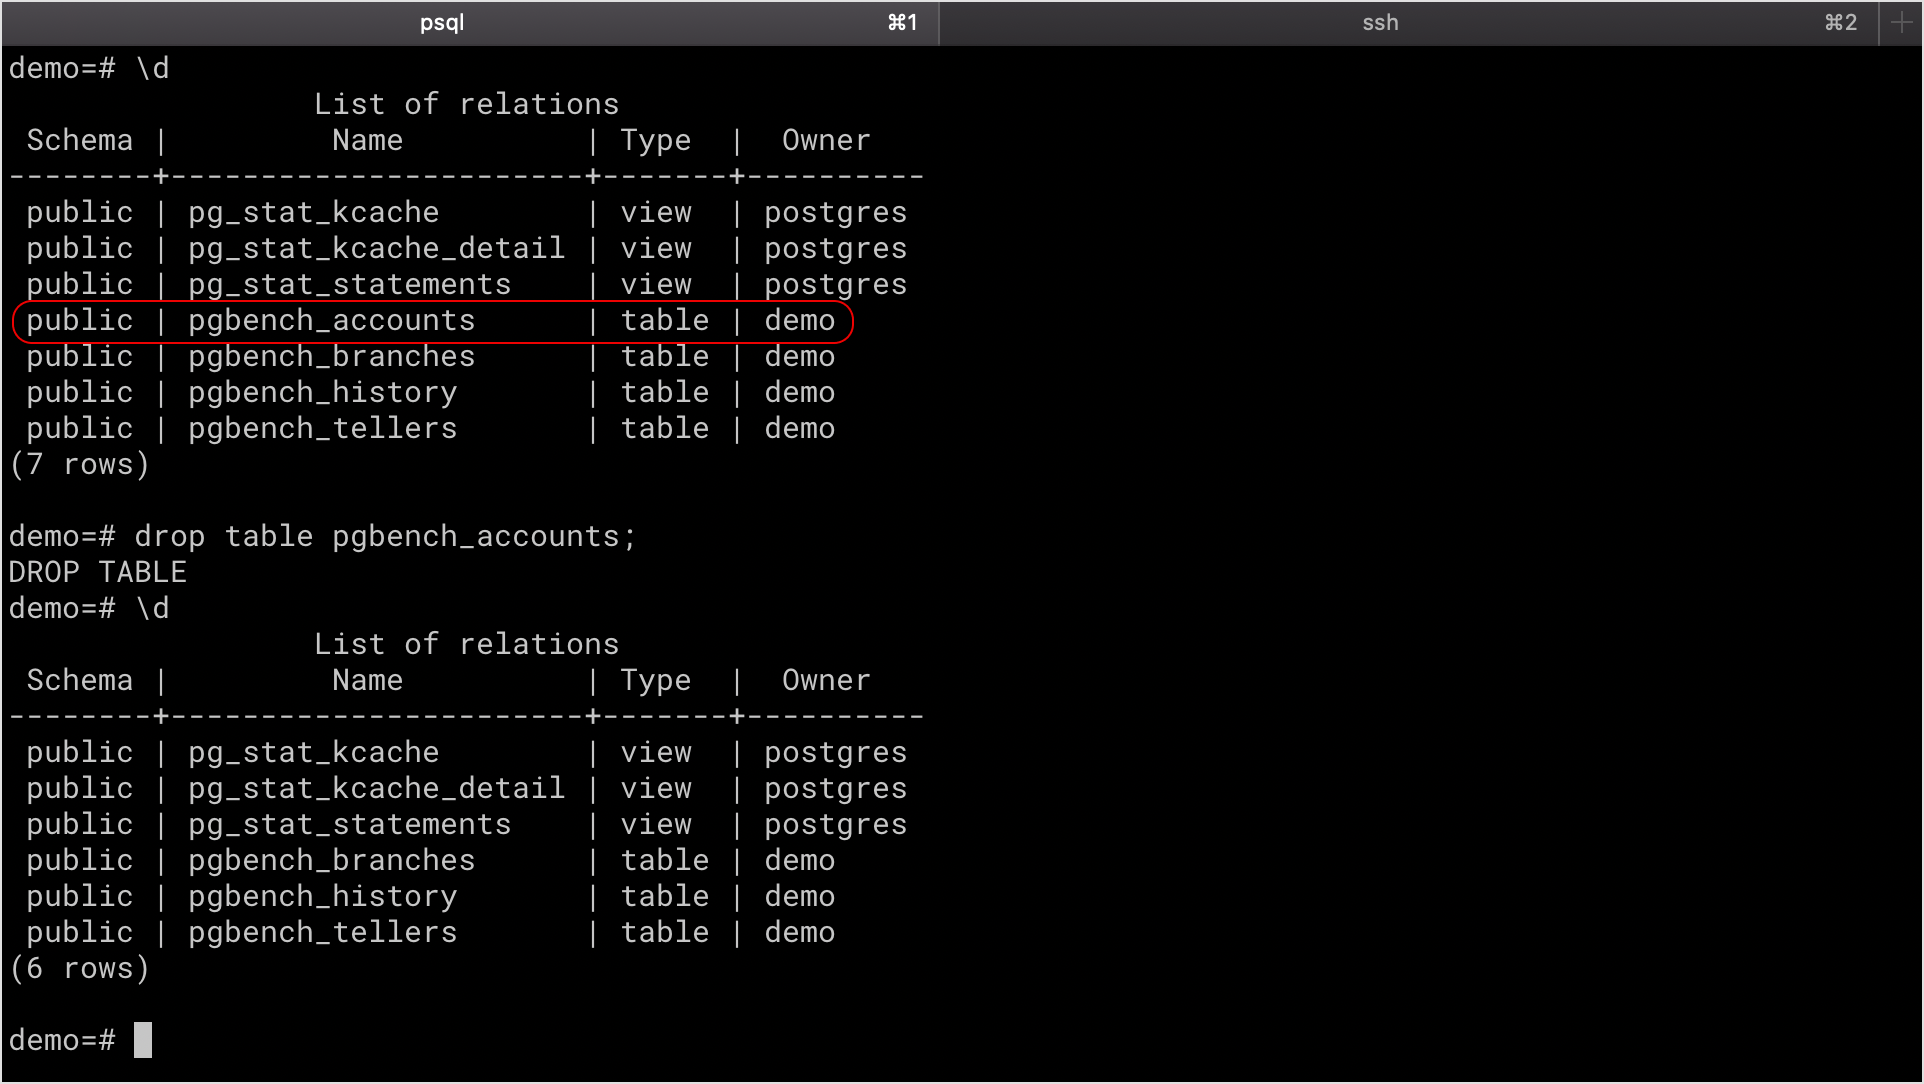
- Connect to your clone and run a DDL or DML query. For example, drop a table:
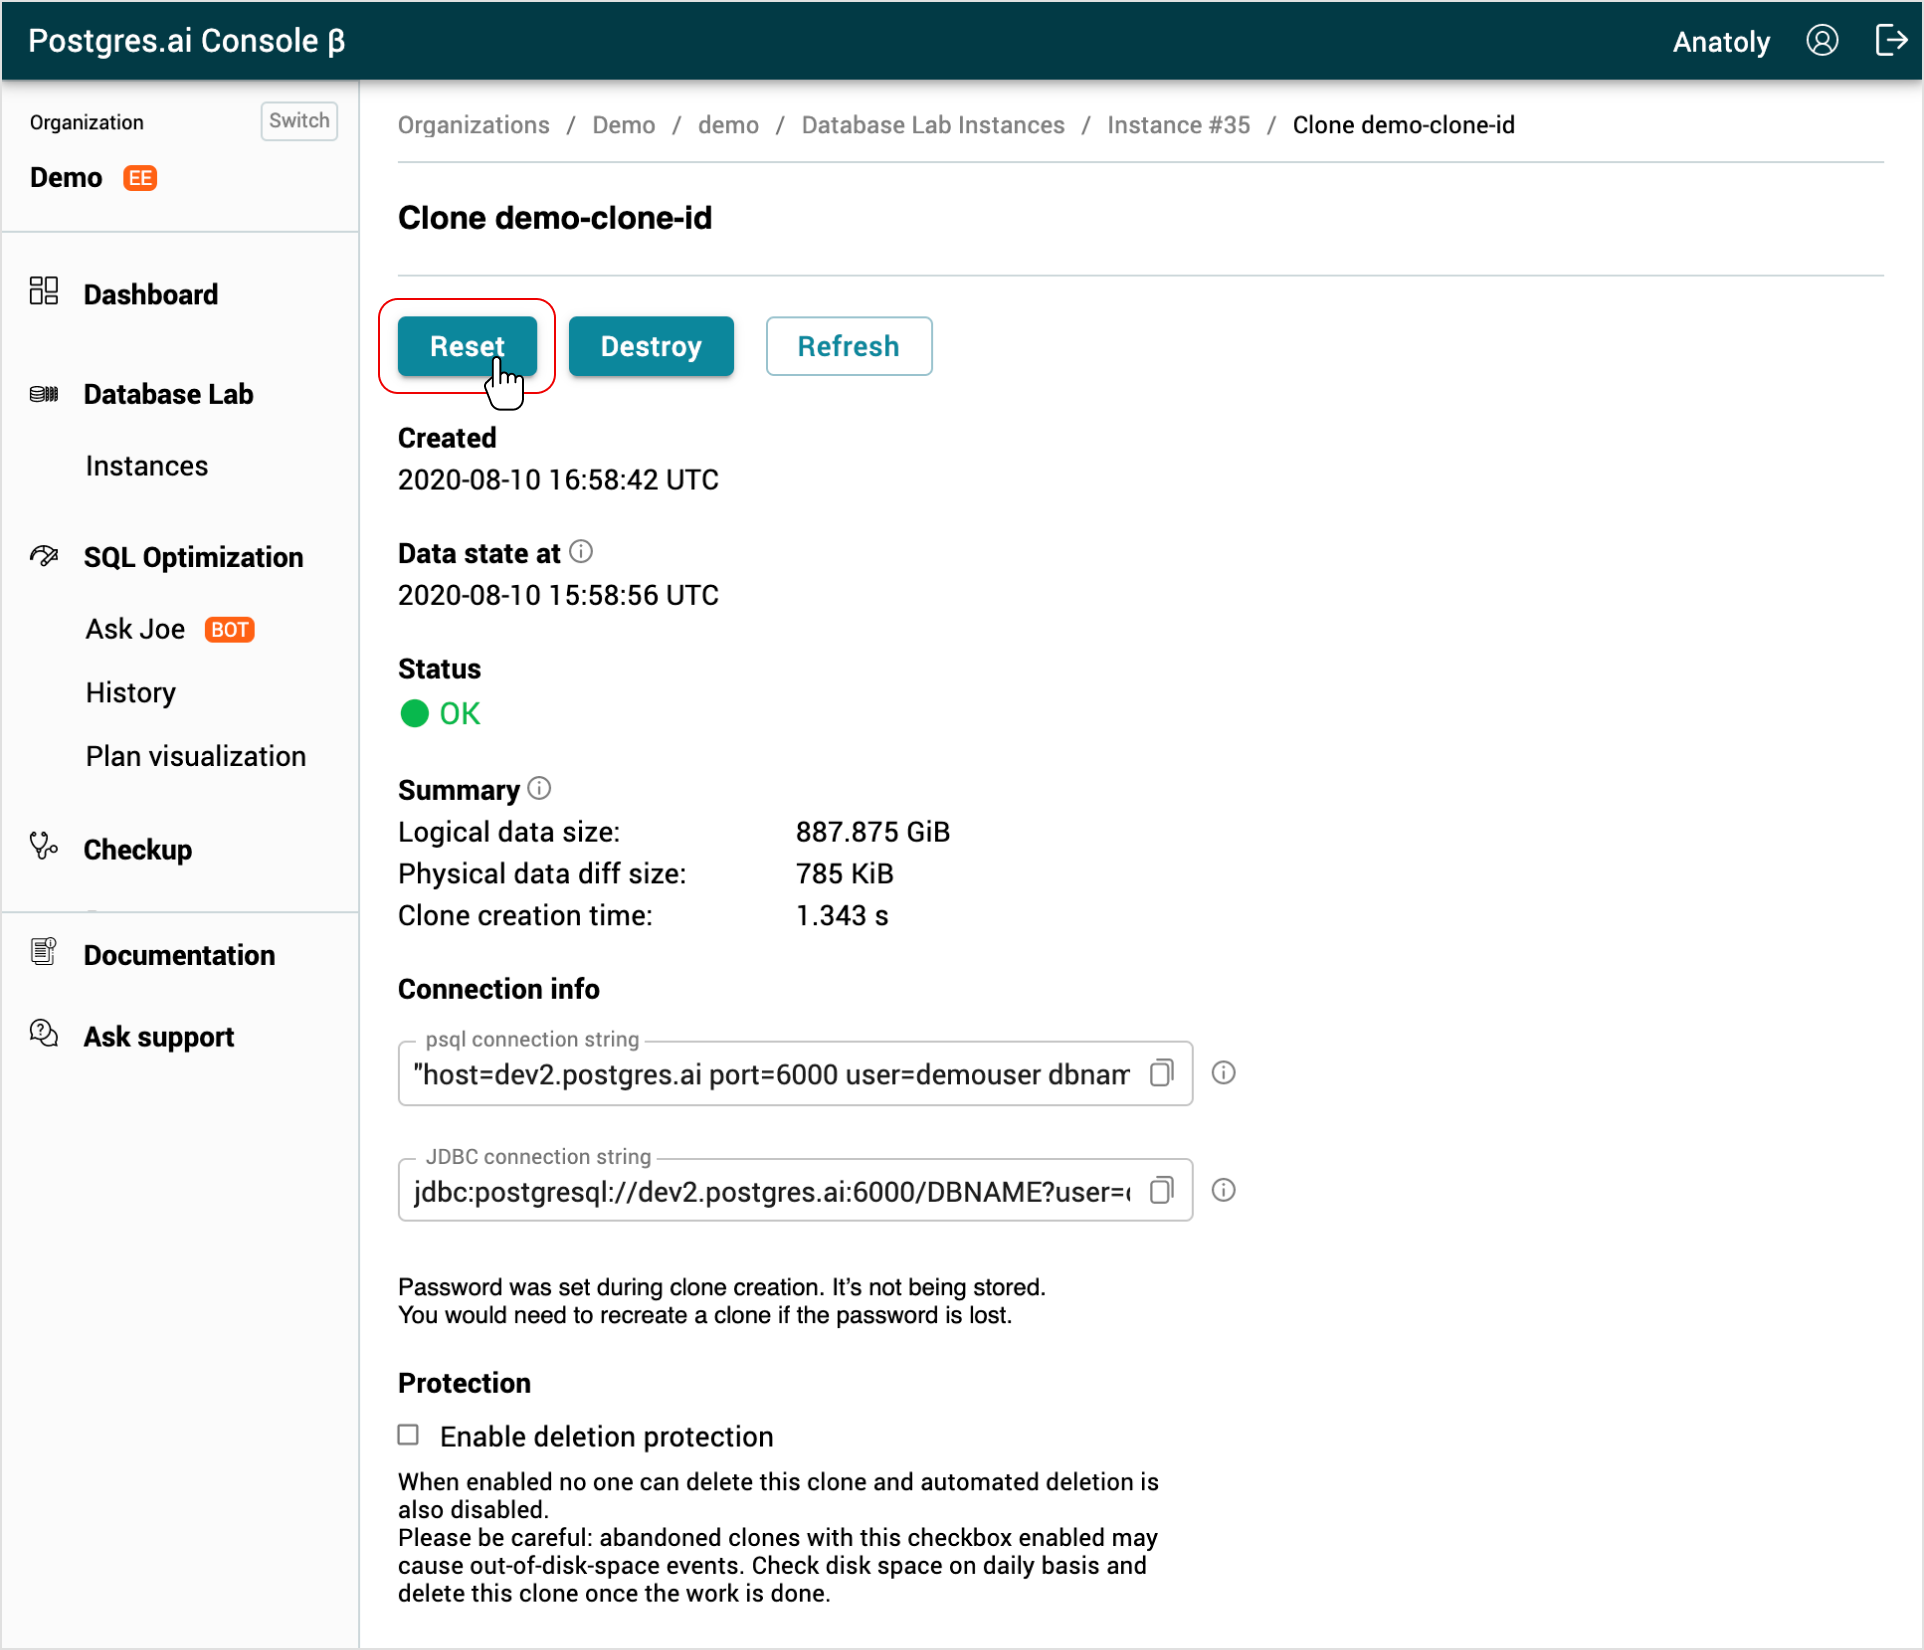
- On the DBLab clone page, click the Reset button:
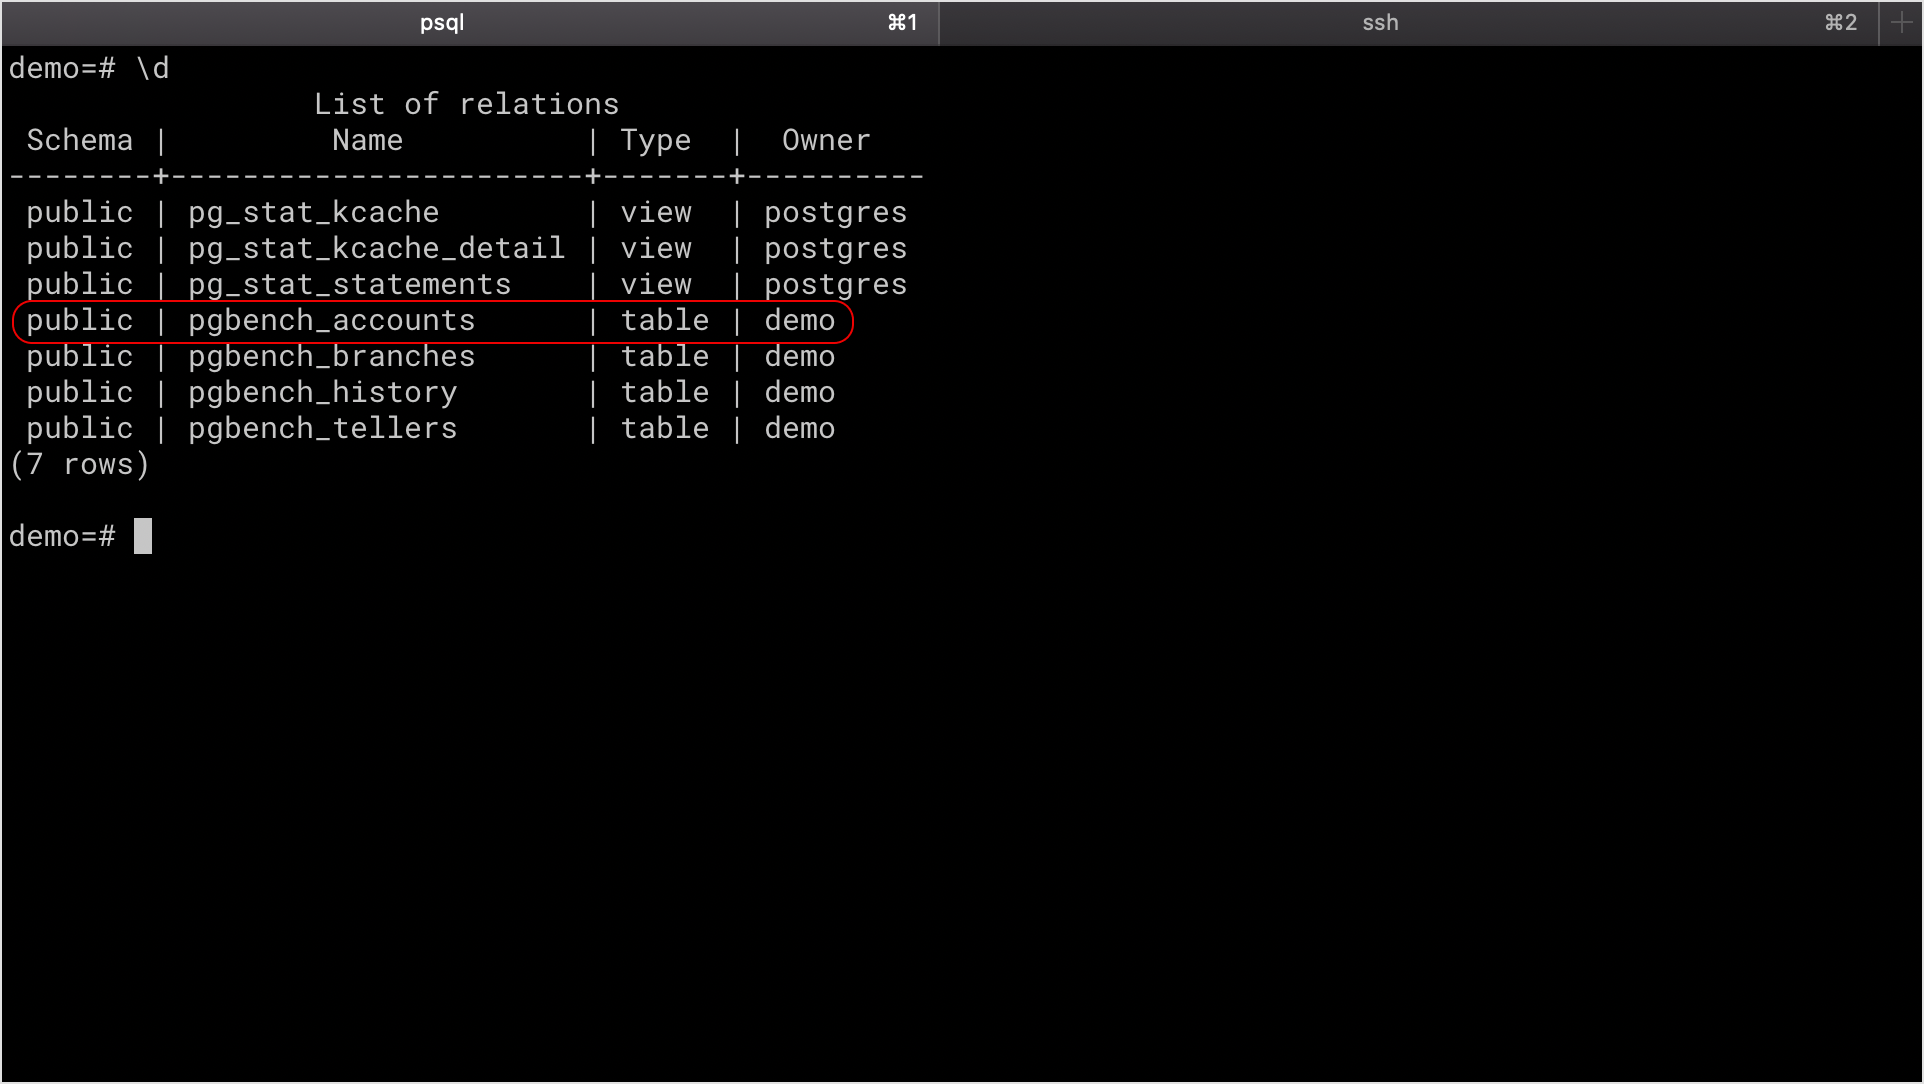
- Wait for the OK status and connect to your clone again. The data is restored to its initial state:
CLI
Before you run any commands, install the DBLab CLI and initialize its configuration. For more information, see Install and initialize DBLab CLI.
Reference
- Command
dblab clone reset
Reset a clone
To reset the clone to its initial state and discard all changes (revert to the snapshot used to create the clone):
dblab clone reset CLONE_ID
Result:
The clone has been successfully reset: CLONE_ID
To reset to the latest available snapshot (feature available in DBLab Engine 2.5+). This is especially useful for long-lived clones, because you get a fresh version of the data without changing the database credentials (including the port) of your clone:
dblab clone reset --latest CLONE_ID
Finally, to reset the clone's state using a specific snapshot:
dblab clone reset --snapshot-id SNAPSHOT_ID CLONE_ID
The parameters --latest and --snapshot-id must not be specified at the same time.
For long-running operations, use the --async flag:
dblab clone reset --async --latest CLONE_ID
Related
- Guide: Destroy a clone